Oatmeal Raisin Cookies

When my little brother needed a cookie recipe to bake for a science experiment, I decided it was an excellent time to try out a new recipe. On Pinterest, I found this recipe for super easy, 6-ingredient, oatmeal raisin cookies. In our efforts to make them healthier, we substituted half of the recipe’s called for amount of butter (1/2 cup), for 1/4 cup of butter and 1/4 cup of applesauce. In the end, I don’t really believe it changed the overall cookie too much, except for making it more moist overall. I would’ve liked more oats in the cookie as well, and maybe a little more crunchiness, too. However, for 6 basic ingredients, this isn’t a bad cookie.

If you are going to take the same route as us, and substitute half of the butter for applesauce, I definitely recommend using more rolled oats, in an effort to absorb some of the moisture. Otherwise, your cookies will be awfully mushy, and not as crunchy as they originally intended to be.

INGREDIENTS:

1 STICK SOFTENED BUTTER (1/2 cup)

1 CUP SUGAR, preferably dark brown sugar

1 EGG

1/2 TBSP vanilla (optional)

1 tsp baking powder (optional)

1/2 tsp cinnamon (optional)

1 CUP PLUS 2 TBSP FLOUR (preferably all-purpose)

1 CUP RAISINS (soaked in rum or bourbon for 6-12 hours and drained, optional)

1 1/2 CUPS ROLLED OATS


DIRECTIONS:

  1. Preheat oven to 350ºF.
  2. Mix the butter and sugar together until completely combined.
  3. Add the egg and mix until incorporated. If using, add the vanilla, baking powder, and cinnamon and mix until incorporated.
  4. Stir in the flour then the raisins and oatmeal until combined.
  5. Drop rounded mounds of dough on ungreased cookie sheets and sprinkle with salt if using. Flatten the dough mounds slightly before baking.
  6. Bake at 350ºF until just lightly browned on the edges and middle still looks undercooked, about 10-15 minutes, depending on how thick your cookies are.

Kiwi Cupcakes w/ Kiwi Buttercream Frosting

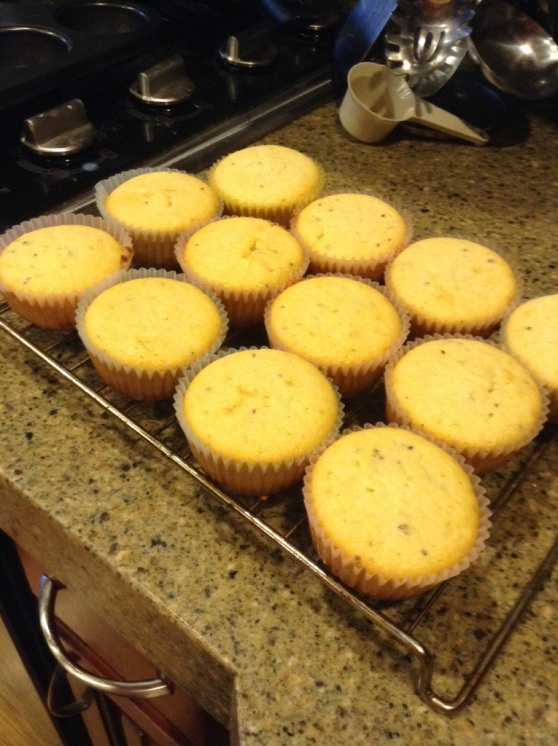
This morning I decided that we had way too many kiwis to be able to eat before they go bad. They were very ripe & I decided we needed to do something exciting with them. When I came across this kiwi cupcake recipe on Pinterest, I definitely wanted to try it! Not knowing what to expect, I was so surprised at how amazing they were.

20131011-104322.jpg
This recipe was also quite easy to follow, and uses pretty basic ingredients. Perfect for me, who isn’t quite the most professional baker.

If you are in need of a simple and easy way to use up some quickly-ripening kiwis, this is the perfect recipe. It is absolutely delicious.

Ingredients:

Cupcake base:

1-2 whole fresh kiwis (enough to make 1/3 cup of mashed kiwi)
1 1/2 cups all-purpose flour
1 tsp baking powder
1/4 tsp sea salt
1/4 cup milk
1 tsp vanilla extract
1/2 cup (1 stick) unsalted butter, room temperature
slightly over 3/4 cup granulated sugar
1 egg
2 egg whites

Frosting:

1 whole fresh kiwi, mashed
1/2 cup (1 stick) unsalted butter, room temperature
1/2 tsp vanilla extract
slightly over 3/4 cup confectioner’s sugar
a pinch or two of sea salt

Directions:

1. Preheat oven to 350 degrees F. Line a 12-cup muffin tin with cupcake liners.

2. Peel the 3 kiwis you will need for the cupcakes and frosting (3 kiwis total), and mash them well using a fork, trying to break up large chunks. See the mashed kiwis below. If your kiwi is not soft enough to mash with a fork, puree it in a food processor or blender. You will use 1/3 cup of the mashed kiwi for the cupcakes, and the remainder can be set aside for the frosting.

3. In a medium bowl, mix together the flour, baking powder, and salt for the cupcake base. In another small bowl, mix together the milk, vanilla, and the 1/3 cup mashed kiwi.

4. In a large bowl, cream the 1 stick of butter with an electric mixer on medium-high speed until light and fluffy, then add sugar and continue beating until fluffy. Turn down the speed to medium and blend in egg and egg whites until just blended.

5. Turn mixer to low speed and add half the flour mixer, mixing briefly until just blended. Then add the milk and kiwi mixture, blend briefly until just combined. Finally add remaining half of the flour mixture, scrape down sides of bowl, and finish mixing just until blended.

6. Divide batter evenly among muffin cups, and bake for 25-30 minutes until tops are golden and just dry to the touch, and a toothpick inserted comes out clean. Remove from oven and cool thoroughly before frosting. (if you need them to cool very quickly, you can stick them in the fridge or freezer for a couple minutes, until cool, not frozen!)

20131011-103857.jpg

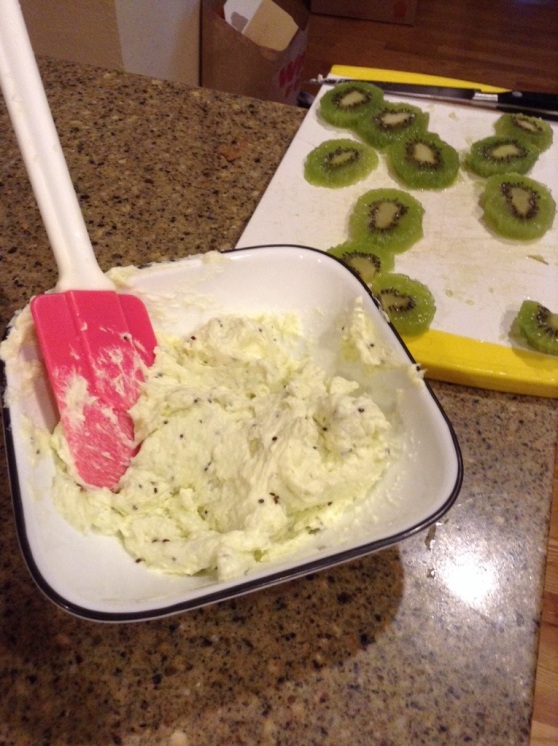
7. Make the frosting: Cream butter until light and fluffy. Add approx 3-5 tbsp of mashed kiwi to the butter, 1 tablespoon at a time, and blend well. You can always add more kiwi but you can’t take it back once it’s in there. Just make sure the mixture is still light and fluffy and doesn’t become watery. Now add vanilla and confectioner’s sugar, and blend thoroughly.  Stop to taste the frosting, making note of the degree of sour versus sweet. The final step is to add the salt and mix well, and taste again.

20131011-105945.jpg

The frosting flavor should really round out and come together at the end, without being too sweet or too sour. You won’t taste the salt, but it will balance out the kiwi and the sugar so that the uniqueness of the kiwi flavor shines through. I swear the frosting tastes so addictive and refreshing, like a perfectly ripe kiwi, mmm!

Honestly, these cupcakes are delicious and I’m in love with them. Such a great treat anytime of year!

Italian Chicken Salad

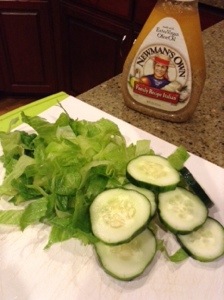
Tonight after my workout for the day, I decided I wanted a lighter, healthier dinner. I decided on a chicken salad with Italian dressing.

20130922-194719.jpg
The main component of this meal is the chicken. The chicken breast is flavored with lime, pepper, olive oil & salt. It’s a pretty basic chicken flavor, but it should be a nice with the salad.

20130922-195004.jpg
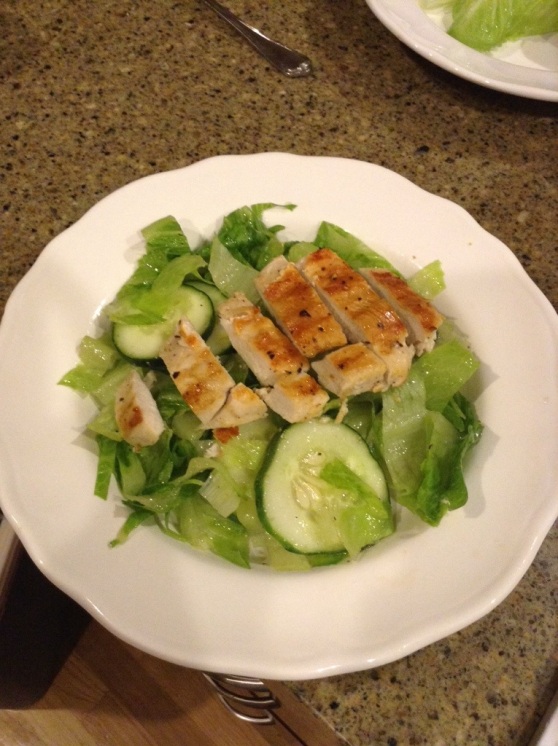
Once the chicken is done cooking (I used a George Forman grill), go ahead and slice it up and put it on top of the salad you’ve prepared.

20130922-195703.jpg

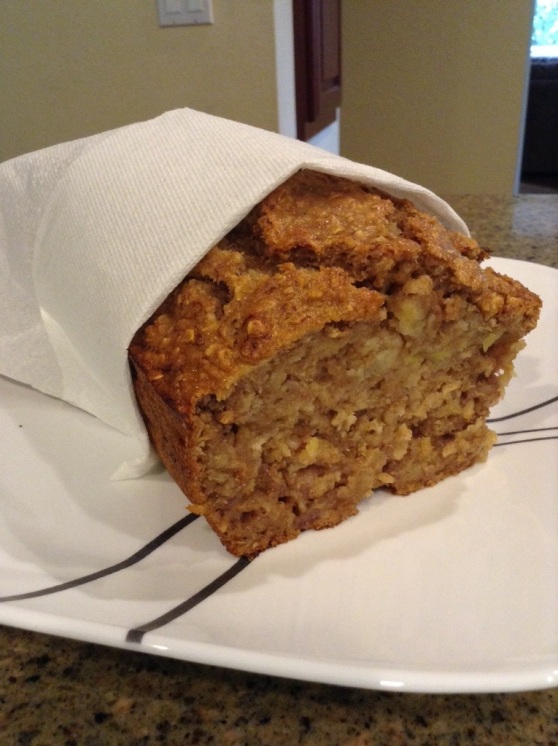
Healthy Oatmeal Banana Bread

Recently, I’ve been craving banana bread. However, i don’t like how unhealthy classic banana bread tends to be. So this is when my search began, to find a healthy banana bread recipe. I came across a recipe from the blog Joyful Belly. It was perfect! This loaf is fat-free, whole wheat, and low sugar, which is ultimately amazing for a normally unhealthy treat. Obviously, I was super excited to try it out.

20131011-110359.jpg

Mashed bananas never look pretty, but trust me, it’ll look fantastic when you see the finished loaf. After waiting an hour to bake, and 15 minutes to cool, i got to taste my well awaited banana bread.

Let me tell you, this bread is delicious!! It was everything I hoped it would be. Even though it’s the healthy version of a classic bread, doesn’t mean it sacrificed flavor or moistness. I would definitely recommend trying it out for yourself.

Ingredients

Serves: 8-10

1 cup whole wheat flour
1 1/4 cup dry rolled oats
1/2 tsp baking soda
1/2 tsp baking powder
1/2 tsp cinnamon
1/2 tsp salt
1/2 cup sugar substitute of choice (honey, Agave, Stevia, Splenda)
2 egg whites
1/4 cup unsweetened applesauce
2 tbsp Greek yogurt
1/4 cup unsweetened almond milk (or fat-free milk, coconut milk, soy milk, etc.)
2 large (or 3 small) very ripe bananas, mashed

Directions

1. Preheat oven to 350°F. Grease and flour a loaf pan and set aside.
2. In a large bowl, stir together all ingredients, mashing bananas with a fork. Batter will be fairly thick.
3. Pour batter into pan and bake until top of loaf is firm to touch, 60 minutes, or until toothpick comes out clean. Remove from oven and allow to cool in pan for 5 minutes. Flip out and cool on a wire rack for an additional 10 minutes. Slice loaf into 10 equal pieces.
4. Serve sprinkled with cinnamon, drizzled with honey or maple syrup, or with a tall glass of milk. Enjoy!

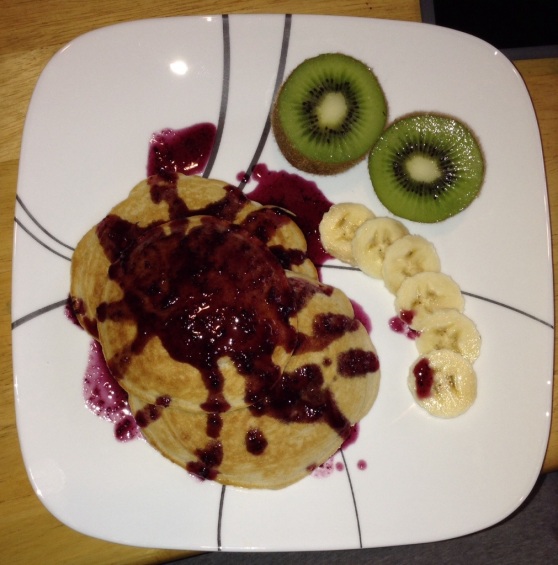
Simple Twist on Pancakes

As much as I love pancakes, they often get boring. Understandably, because pancakes are commonly thought of as a plain, basic breakfast food. However, today I tried to make them a little more interesting.
To start, I added cinnamon & vanilla extract into the batter. This gives a subtle lift of flavor. You may also want to add lemon if you prefer fluffier pancakes.
Next, I added fruits to the mix. Gently stir in the fruits, making sure not to mash them up.
Today I used strawberries & bananas. But I recommend using any types of berries. Really, you can experiment with whatever fruits you’d like.
Once you’re ready with your batter, cook them whichever way you want. I recommend cooking them slowly so that the middle gets cooked evenly without the outside burning.
Considering pancakes really don’t have quite the nutritional value, consider including fruits to the plating of it. This also adds to the overall appearance.
Bon Appetite!

20130922-135755.jpg